Vidiot is a free non linear video editor which can be used to edit videos. The software provides some cool video editing features that are available in the high end video editing software. The features are more than enough to do some good editing of home made videos.
The software is around 12 MB, which is very small when compared to the functionality it provides. It does take some time to understand the working of the software. With this software, you can also combine multiple videos, as well as rearrange them.
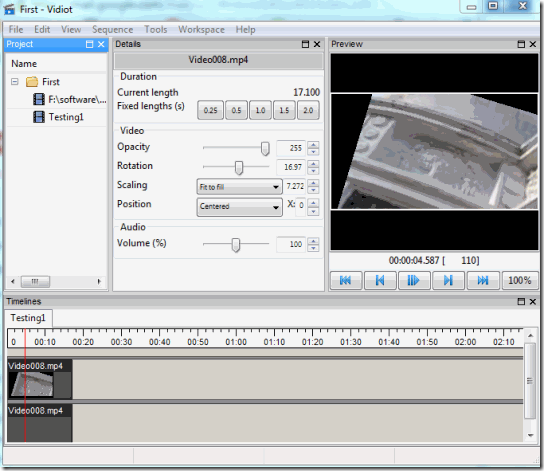
How to do non-linear video editing with Vidiot:
In this review we will talk about the different features, so that we get a simple edited video. To make more enhancements, you can try different combinations with available features.
The software can be downloaded using the link at the end of the article. Once downloaded, install the application in the same way as you would install any Executable file.
Once the installation is over, start the application either from the Start Menu or from the icon on your desktop. When the application starts, you will get a screen like the one below.
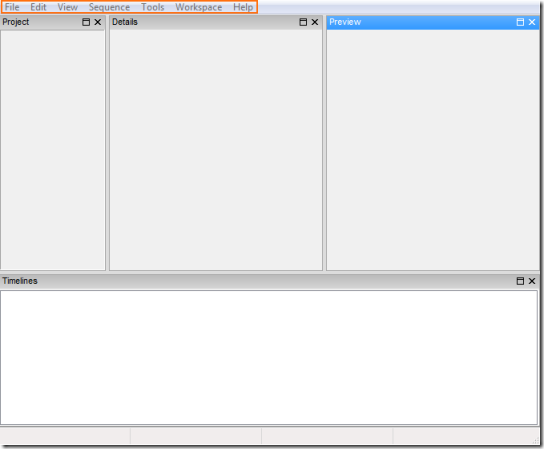
The first thing that needs to be done is, you have to create a New File. This can be done by clicking “New” under “File” menu. Once the File is created, you will see a folder named “unnamed1” under the Project. Click on “Save As” to save it with a name according to your wish. Now you have to add videos to this folder. Right Click on the File, and under “Add” select either “Folder from Disk” or “File(s) from Disk”. Folder from Disk will add all the videos present in a folder and the other option allows you to select files from various places in the computer.
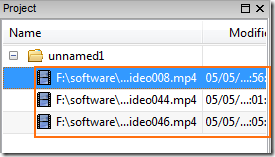
Once you have added the files, you will see them listed under the folder. You cannot edit these files. For editing, you have to first create a sequence. To create a sequence, right click on the folder and select “Sequence” under “New”. Give a name to the sequence and now the Timeline will show you Testing Sequence’s timeline and you will have a video player in the Preview Section.
To add videos to this sequence, “Drag and Drop” the videos listed under the folder in Project section into the timeline one by one. Once done, you will see something like the picture below.
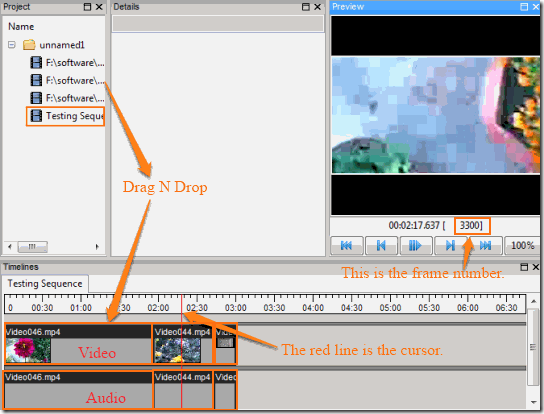
Well the videos have been added so we can now start the editing of the videos. You will see that the videos have been added separately according to their respective length. The Audio and the Video part are separately represented in the timeline. When you select any part of the video from the timeline, you will see its details under the detail section.

You can change various functionalities mentioned under the Details section. Users should remember that when you make any changes in the Details, first use the cursor and move it across the video part to see that the effect has materialized across all the frames of the video on which it was intended to be used. To move the cursor, left click on the cursor and move it while the left click is pressed. If you directly play the video to see the result, the application might crash and stop working. Once you are done, click on the play button on the Preview to see the effect.
To put any video ahead of any other video, simply drag and drop the video to the desired location. But first make space for the video you are intending to bring else it will overlap with the video already present in that part of the timeline.
If you right click on the Video in the time line, you will get various options to make your video more enhanced.
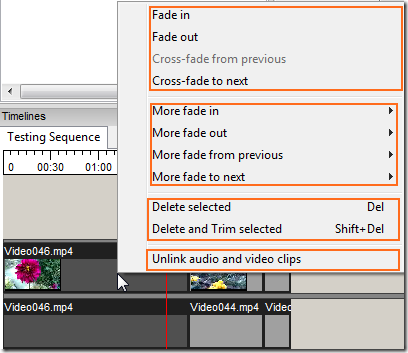
Out of last three, all the options make the video more visually appealing. Delete selected will delete the video upon which you pressed the right click button. The “Delete and Trim selected” will delete the video and make the video after the current video in the timeline to start in its place. You will notice that if you select either the audio or video, both its corresponding video/ audio gets selected. “Unlink audio and video clips” will separate them and now you can either delete the audio or video from a particular clip.
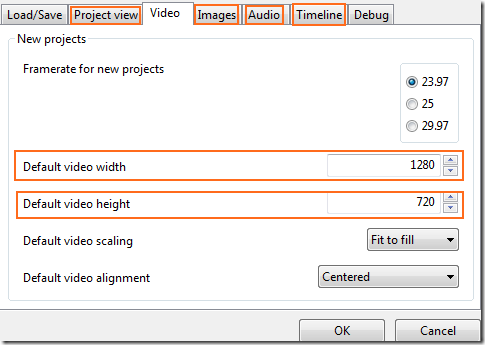
The Options under the Tools in the Menu bar will pop up a dialog box like the one below. It has options to change the Audio Sample rate, Video Resolution, Project View etc.
The “Sequence” in the Menu bar gives a few more functionalities.
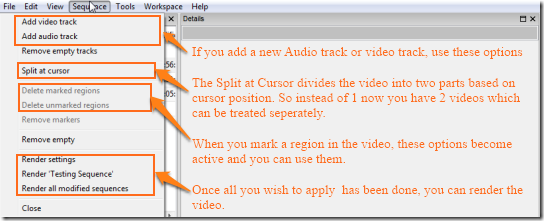
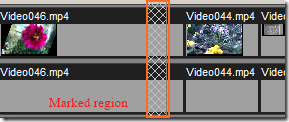
To mark a region in the timeline, take the cursor where you would like to start the marking region from. Then press “Shift” on your keyboard and while pressing Shift, press left click and drag the mouse to the left or right to extend the marked region.
Once the rendering is complete, which takes time and depends on the number of frames it has to render, you will find the rendered video in the root of the directory where the file has been saved. To save your work so that you can work on them later, click the “Save” button under the File in the Menu bar.
Also check out some other video editing software for Windows.
Conclusion:
Vidiot is really a very simple video editor. It packs with the basic functionalities so that we can do the basic editing of our videos. It takes some time to understand how the different features work but once you get to know it, you can produce wonderful videos.