This short tutorial explains how to permanently delete files in Windows 8.
As we know, whenever we delete any file/folder, it is moved to Recycle Bin. From there, you can restore the file anytime you want. And hence, to permanently delete those files, you need to delete it from Recycle Bin. It is quite a long process for deleting a file.
If you frequently delete files, and instead of moving them to Recycle Bin, you want to permanently delete them, then Windows provides many features for the same. You can even use freeware to do so.
Shortcut To Delete Files Permanently In Windows 8:
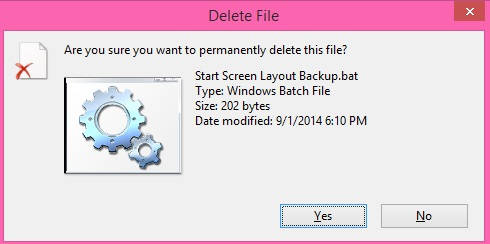
Hotkeys easily let you do any task, and does the task quickly as well. To delete any file permanently, use Shift key while deleting any file. It will ask for your intervention, and once you click on Yes, the files are deleted permanently, instead of moving to the Recycle Bin.
Method 1: Easiest Method To Permanently Delete Files In Windows 8
The hotkeys are always helpful. But every time, you need to delete any file permanently, you need use Shift key.
Another easy method to bypass Recycle Bin is by using Recycle Bin Properties.
Go to the Desktop, by using Windows Key + D. Then, right click on Recycle Bin. From the right menu, click on Properties.
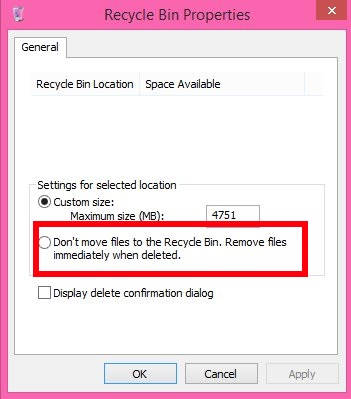
In Properties window, you will see a radio button that says “Don’t move files to Recycle Bin. Remove files immediately after deleting.”
Click on OK, and then close the Properties window. After this, whenever you delete any file, it will be permanently deleted, and will not go to Recycle Bin.
Method 2: Permanently Delete Files In Windows 8 Using Registry
Step 1: The first thing that you need to do is open the Registry Editor, by using regedit in the Run.
Step 2: In the Editor, navigate to the Explorer Key by using the below path:
HKEY_LOCAL_MACHINE\SOFTWARE\Microsoft\Windows\CurrentVersion\Policies\Explorer
Step 3: Click on the Explorer, and then go to the right side of the editor. Right click on an empty space, and then select New > DWORD (32-bit value).
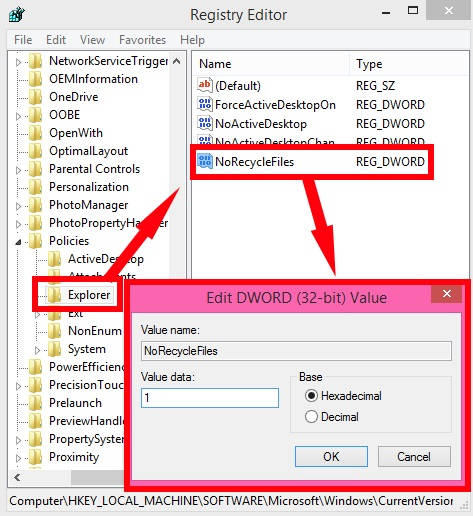
Step 4: Name the DWORD as NoRecycleFiles. Double tap on NoRecycleFiles, and change its value data from 0 to 1.
Close the Editor, and then Sign-out and Sign-in to apply the changes.
Method 3: Freeware to Permanently Delete Files In Windows 8
Blank and Secure is a freeware for Windows 8, which lets you bypass Recycle Bin, and batch delete files/folders permanently in Windows 8.
You can get Blank and Secure freeware from the publisher by using the link given at the end of this tutorial.
After launching the freeware, you will find few options, with a Path box, within the window.
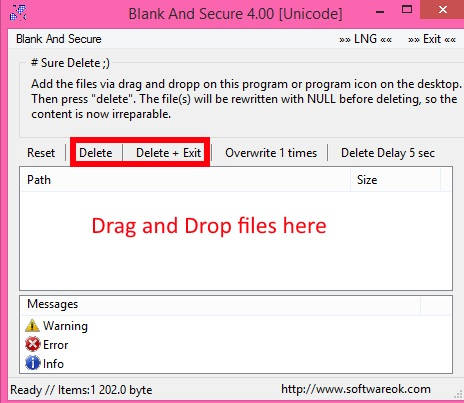
In path, you need to drag and drop the file/folder which you want to delete. With drag and drop, add as many files as you want. Then, click on Delete button, it will delete all the added files in no time.
Read full review of Blank and Secure here.
Also learn, how to get back Confirm Delete Box in Windows 8.