Poxi is an amazing fun website builder that allows you to draw stuff, rotate and place objects as you please, use stickers and more. It works like a DIY project that you can use for creating unlimited and various types of webpages such as Portfolios, Landing pages, Link pages etc. It is somewhat identical to MySpace that was one of the most popular social networks until 2008 used by people to create Profile pages expressing their areas of interest with photographs and links to other profiles.
Poxi gives the user a true and real-time drag and drop experience while creating webpages that makes it easy and effortless for children as well as adults without any prior experience. In addition to this, you can use a variety of free Themes that have been provided and Embed other Apps such as Spotify, Instagram, YouTube etc. in your webpage giving the visitor a truly engaging experience.
Let’s briefly discuss the Features that have been awarded by Poxi:
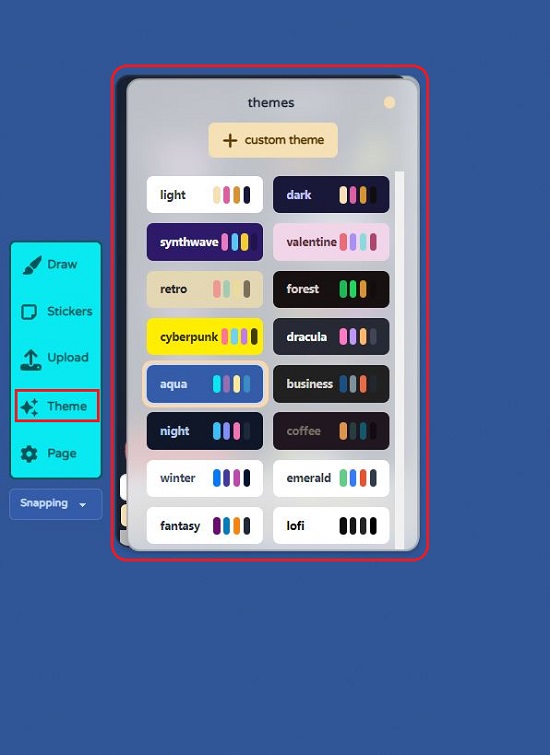
- Themes: A set of 24 themes to use from while designing the webpage. You can change the theme easily with a single click.
- Embed: You can embed a host of Social Media and other apps directly on your Poxi webpage such as Soundcloud, YouTube, Vimeo, Twitter, Instagram, Spotify, Google Map and more.
- Auto Responsive: Poxi webpage layouts automatically adjust and adapt to the screen of any device of any size such as Mobile phone, Tablet, Desktop, Laptop etc.
- Real-time collaboration: Friends / Teams can collaborate in real-time on Poxi webpages such as while creating moodboards or planning field trips.
- Google Chrome Extension: Poxi provides an Extension that you can use to prepare a new homepage for your browser with a To-do list, Important links, Google Calendar integration and more.
- Widgets: A host of inbuilt Widgets or Apps are available to play around with your webpages and make them as appealing and useful as possible. Few examples are Markdown, Buttons, Images etc. The Embed feature listed above is also a part of the Widgets. Using the Custom Code widget, you can write Code in JavaScript, HTML CSS to customize your webpage as per your needs.
Poxi is totally free and all that you are required to do is sign up using your Google credentials to register for a Free account.
Working:
1. Navigate to Poxi using the links that we have provided at the end of this article and sign up for a Free account.
2. Click on ‘Your first page’ to navigate to it and start the designing.
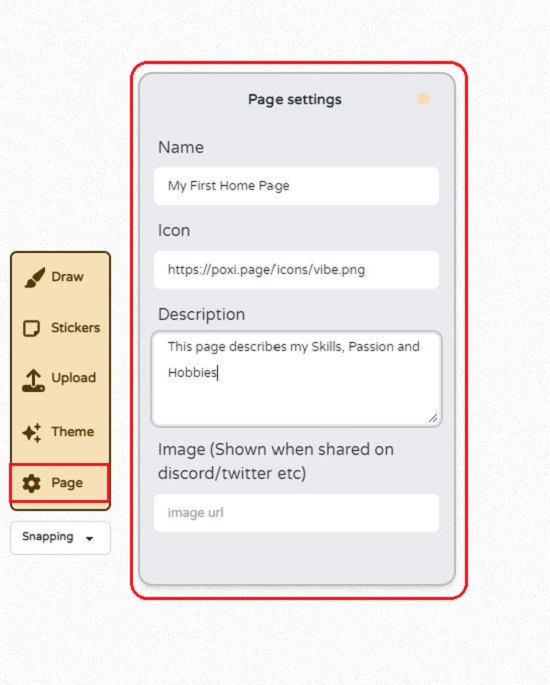
3. Click on the ‘Page’ link in the toolbar on the left and type the necessary details such as Name & Description of the webpage, URL of the icon of the page, URL of the image displayed when you share your page on Twitter, Discord etc.
4. To add excitement and develop interest in the visitors you can add stickers by clicking on the ‘Stickers’ link in the toolbar and selecting anyone from the stickers panel powered by Giphy. You can use the buttons at the bottom of the stickers panel like Meme, Cute, Squiggle etc to filter them. Additionally, you can use the drop-down at the bottom and select GIFs in case you wish to add GIFs to the webpage.

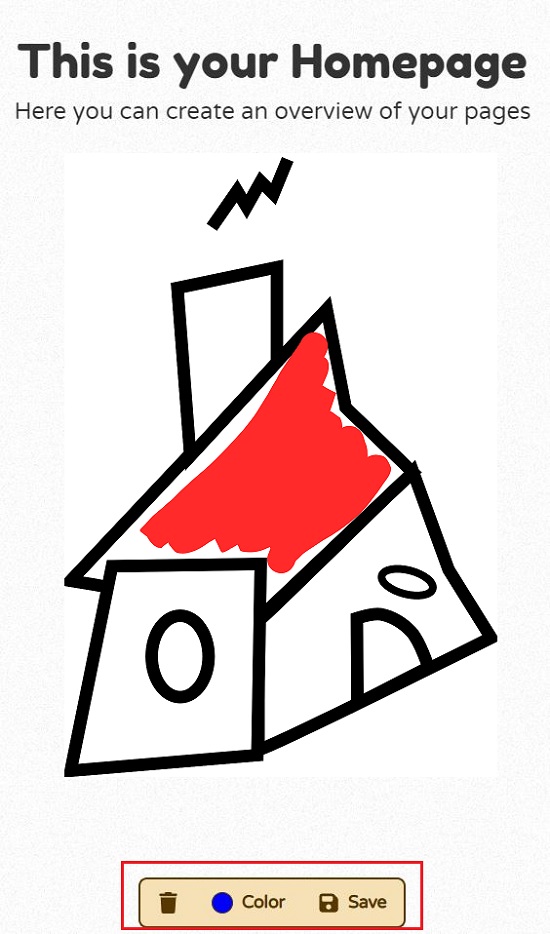
5. To Draw any stuff on the webpage, click on ‘Draw’ in the toolbar and sketch a freehand however you desire. Change the color of the pen using the bottom panel.
6. Click on ‘Theme’ in the toolbar and then choose any theme that you like. All changes will be reflected immediately in real-time.
7.. To upload any Image, GIF etc, click on ‘Upload’ in the toolbar and perform the necessary steps.
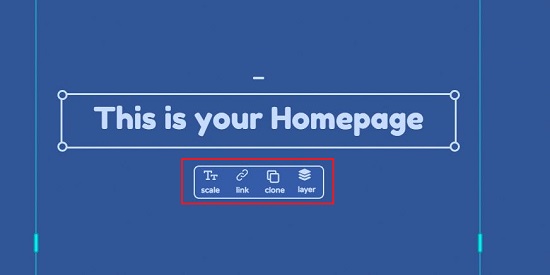
8. To move any object that you have added to the webpage such as a Sketch, Widget, Sticker etc, click on it to select and drag it to the required location. Use the handles at the corners to enlarge or reduce the size. Selecting an object also enables a small panel below it that you can use to Scale the object, Clone, change the Layers etc.
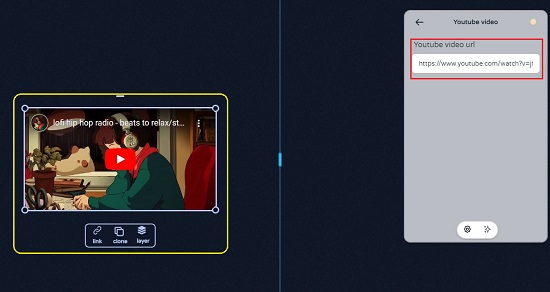
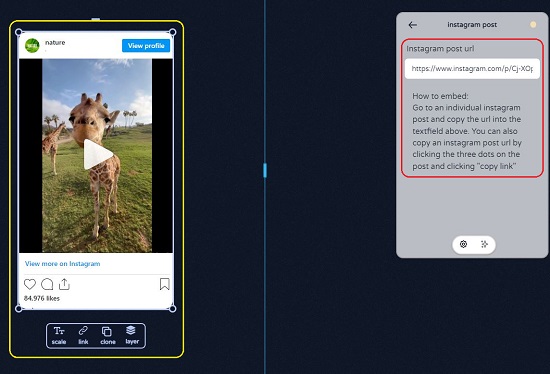
9. Use the Apps panel towards the right of the screen to insert any Widgets in your webpage. Click on any widget to add it and configure its settings if required. For example, if you add an embed like the YouTube widget, you must specify the URL of the video. Similarly, if you insert the Instagram widget, you must paste the URL of the relevant post that you wish to display.
10. To create a new page, click on the ‘+’ sign at the top right. Use the 3-lines icon (hamburger button) at the top left of the screen to shuttle between the various webpages that you are creating. Also, you can use the ‘tick mark’ icon adjacent to it to switch between View and Edit.
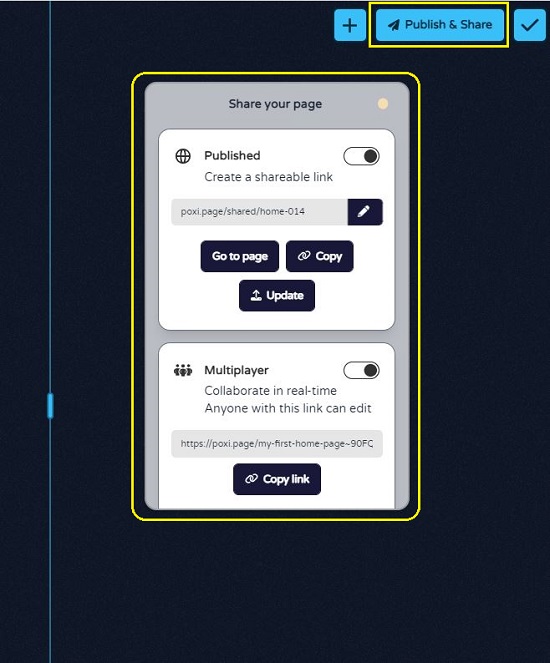
11. To enable multi-player collaboration or to publish your webpage, click on ‘Publish and Share’ at the top right of the screen. To Publish, enable the toggle switch, copy the URL, and share it with whomever you like. For Collaboration, enable its toggle switch, copy the link and share it with your friends and team members.
Closing Words:
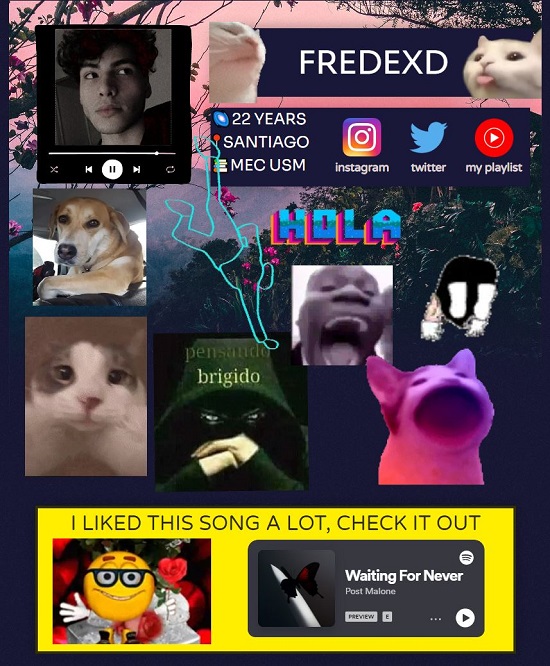
I used Poxi for a while and was amazed by its simplicity and ease of use. Anyone, even a child can design and publish a webpage with ease. The options for changing Themes, adding Widgets, Stickers etc are very handy and useful and make the webpage appear cool and trendy. Awesome personal pages, moodboards, to-do lists and more can be designed and published very easily and effortlessly with Poxi.
Click here to navigate to Poxi and unleash the creative champion inside you.