This tutorial explains how to create a hidden disk with password protection.
A hidden disk or drive can come in handy to store some secret documents or any other stuff you want. To create a hidden disk, I have covered a free software in this tutorial, named Hidden Disk.
Hidden Disk is a very easy to use software. It first lets you select the drive letter and then you can immediately create a secret disk in a single click. This software doesn’t actually create a real disk. It only creates a virtual drive or say a clone of the Windows installation drive and takes the help of free space of that drive to store files.
Once you have created the disk, you can store files and folders in that disk and then disable that disk using the software. The disk is not actually disabled, but only hidden from ‘This PC’. Your files and folders are stored secretly in that disk. You can use this software to make the disk visible again and access your files. To make your hidden disk more secure, you can set password protection for the interface of this software. After this, when you will launch the software, it will ask you to enter the password for further actions.
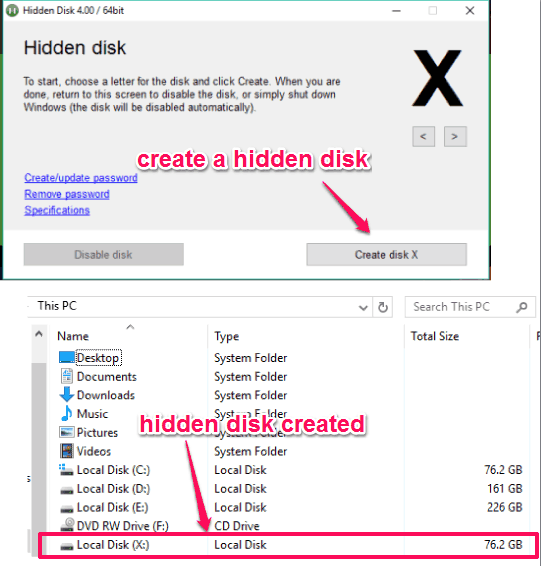
Above you can see a virtual disk created by me using this software.
Here are some free folder hider software covered by us for you.
How To Create A Hidden Disk With Password Protection?
Step 1: Use this link to grab the set up of this software and install it.
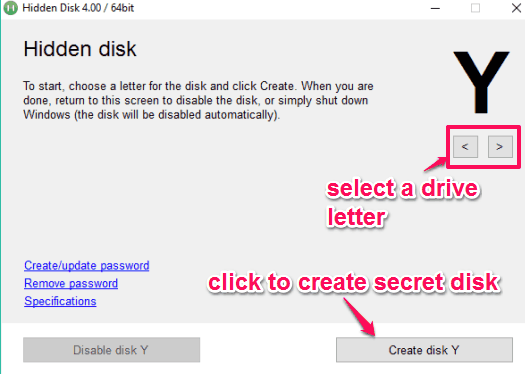
Step 2: Open its interface and select an unallocated drive letter. After this, click on Create disk button. This will immediately create the drive. You can open This PC to check if the drive is created or not.
Now you can store files and folders in that disk.
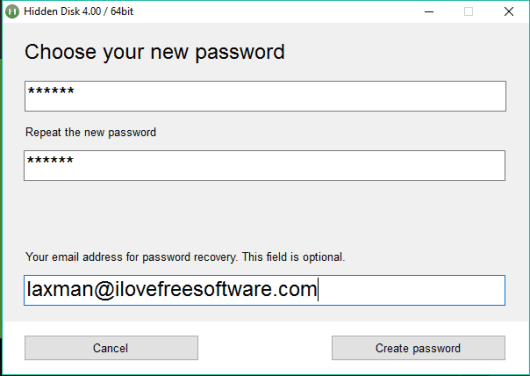
Step 3: There is a Create/update password option on the interface of this software. You can use that option to create a master password. You can also enter an email address for password recovery (in case you forget your password).
Step 4: Now click on Disable disk button and close the software. It will also hide the drive you just created.
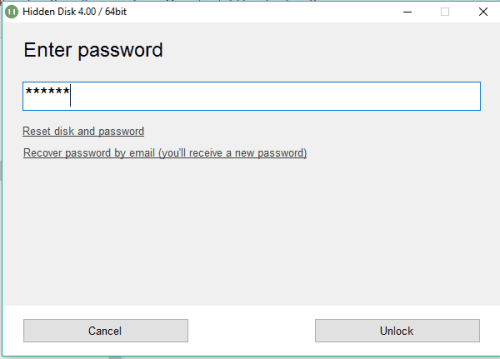
Step 5: To bring back the disk, launch this software. This time, it will prompt you to enter the password.
After entering the correct password, its main interface will visible. Now you can select the same drive letter or any drive letter and use Create disk button. It will make the drive visible again. If you have selected some different drive letter, then drive will be created with that letter, but your files and folders will be there.
Now you can open that drive to access your files.
The Verdict:
You might have already used or using some tool to hide a drive. This software works in the same manner but comes with some good options. Instead of hiding the original drive, you can make a virtual drive. This will help you use the original drive without any trouble. Also, the option to set password protection for its interface ensures security for the hidden drive.


