This article takes you through a simple tutorial to convert blog post into video for free.
Video creation generally requires a significant amount of time and resources. Creating a simple video based on photos and text is also a fairly complex process. There are many online tools where you create videos by adding photos and text. But, Recast Studio takes things one step ahead toward simplicity and makes the video creation significantly less complex.
With Recast Studio, you can easily create video from blog post. It is a Google Chrome extension that you can open alongside a blog post and drag media and text from the post to create a video. This process of converting a blog post into a video is simple and only takes a few minutes. With the free membership, you can create up to 15 videos per month in SD quality.
Also read: Markdown Editor To Collaborate And Directly Post Blogs [Chrome]
How To Convert Blog Post Into Video For Free?
To convert blog posts into videos, install the Recast Studio extension from the Chrome Web Store here. After installing the extension, log in to your account or create one for free. Once you do that, creating a video is just three step away.
Step 1: Add Content
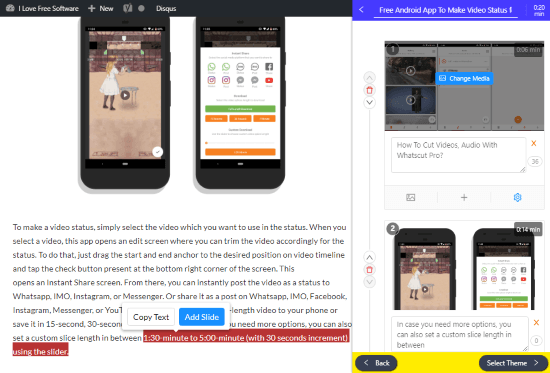
First, open the blog post that you want to convert into a video. Then, click the Recast Studio icon from the Chrome toolbar to open it alongside the blog post. The Recast panel shows your existing video along with an option to create a new video from the current page. When you select the option to create a new video, it automatically fetches some media (photos & videos) and text from the blog along with the title. If you find them useful, you can keep them, otherwise, delete them and just add new slides. In a slide, you can drag & drop a photo/video from the blog. To add text, you can copy paste the text in the slide or hover your cursor over a line and click “Add Slide” to add it directly. The text field has a limitation of 80 characters. In a single slide, you can add one photo along with multiple text fields.
Each slide has the following three options:
- Change Media: To change the current media; you can upload media from your device or fetch photos and videos from Unsplash and Pixabay.
- Add Text: To add a new text field in the slide.
- Settings: To change the slide animation.
Once you finish this step, you completed most of the work to make the video.
Step 2: Select Theme
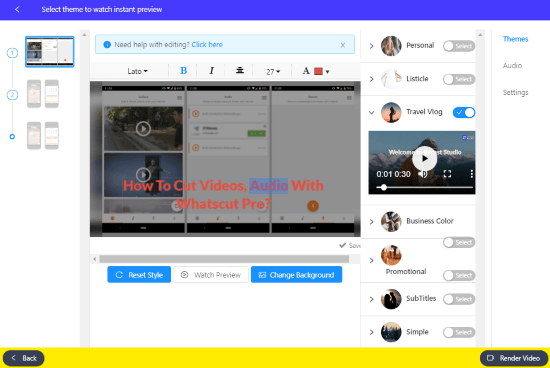
The second step is to customize various options for the video. Here you get a set of themes which you can choose for your video. Each theme has a unique text style and slide switch animation. You can view a theme before applying and can also see a preview on your video with that theme. While previewing a theme on your video, you can customize the text style. You can choose a format for the text and change its color.
Apart from the themes, you can also select an audio from the given choices and adjust the video speed. You can also upload audio, watermark, and credit/outro slide by upgrading to a premium plan.
Step 3: Render
After making the desired selection in the second step, click the “Render” button present at the bottom right corner. Once you do that, Recast Studio starts rendering your video in the background and gives you a notification when finished. Then, you can download the video either from the Recast Studio panel or from the Recast Studio website.
Add this extension to Google Chrome from here.
Wrap Up:
Recast Studio is a handy tool to easily create a video from blog post within minutes. The videos you create with this tool has a Recast Studio outro at the end of the video which can be easily trimmed upon download.