Here are 5 free websites to add lomo effect to photos. You can use these websites to easily apply a stunning lomography effect to your photos. For doing that, all you need to do is open these websites, upload a photo, and then apply the effect with a single click. This effect is pretty amazing as it includes high contrast, unique coloring, dark vignette, and soft focus. Some of these websites offer different types of lomo effect to suit your need. Apart from the lomo effect, these websites also exhibit many other photos effects which you can add to your photos.
Adding different effects to photos like Duotone, Tilt-Shift, Color Splash, etc. can make them look visually appealing and stand out on your social media profiles, blogs, etc. These are actually typical image editors, so you will also find various editing tools like crop, rotate, resize, and more.
Now, let us see how to add lomo effect to photos online.
Fotor:
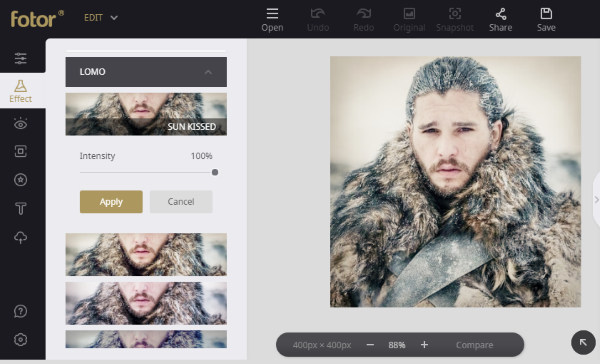
Fotor is one of the best free websites to add lomo effect to photos. You can use this website to make your photos look amazing by adding a stylish lomo effect to it. There are different types of lomo effects available including Sun Kissed, Soft Flow, Sangria, Dusk, Diana, etc. which can be applied to your photos. After you visit the homepage of Fotor, simply click on the “Edit” option to open the editor. Now, you can easily import any photo you want from your PC for adding the effect.
First, you would need to select the “Effects” tab on the left panel. After that, you can see all the supported photo effects among which you gotta choose “LOMO”. When you do that, all the different lomo effects will appear and you can apply them to the photo with a single click. It also lets you manually adjust the intensity of the effect. You can then export the resulting photo to your PC for free.
FotoJet:
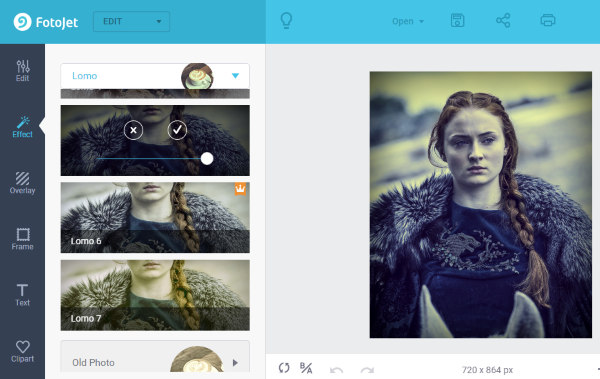
FotoJet is another free image editing website that can be used to add lomo effect to photos. It allows you to pick any photo and then turn it into something stunning by adding a lomo effect. Similar to “Fotor”, this website also offers different lomo effects for you to use. When you visit the website, simply click on the “Edit” option at the top to open the image editor. After that, you can upload any photo from PC or Facebook by clicking on the “Open” menu.
Now, the first thing you need to do is click on the “Effect” tab visible on the left pane. Then you can see all the photo effects offered by this website. After that, scroll down and select the “Lomo” option to see all the different types of lomo effects. You can select any effect you want to apply to the photo and also change the intensity of the lomo effect. The output photo can be saved to PC for free.
Read more about FotoJet from here.
iPiccy:
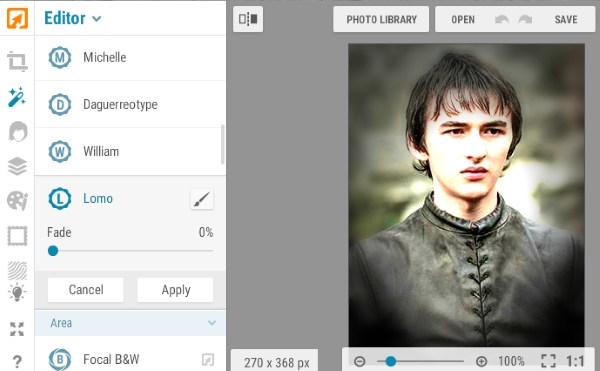
iPiccy also provides one of the best ways to add lomo effect to photos. It lets you choose any photo you want from your PC, web URL, or take a new photo using the webcam and then add the effect to it. Unlike “Fotor” and “FotoJet“, this one has only one lomo effect that you can apply. To do that, you would need to open the website and then the image editor. After that, you can click on the “Open” option at the top to choose the source photo.
Once you do that, click on the “Effect’ icon on the left and scroll down to the “Lomo” effect. You can now apply this effect with a single click. Then you can customize it by adjusting the fade. It also comes with an additional option to apply the lomo effect to photos by drawing on them manually. When you’re done with adding the effect, you can simply export the photo to PC.
Tuxpi:
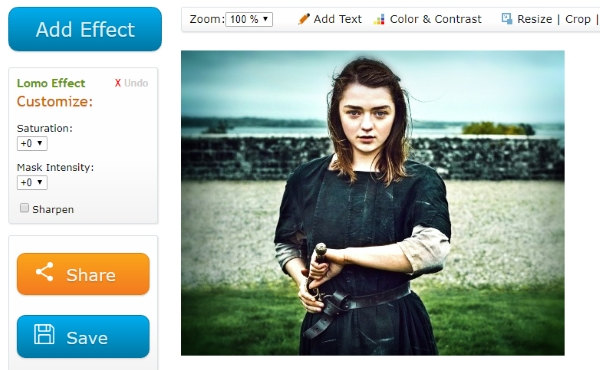
Tuxpi is also a free image editor website which can help you easily apply lomo effect to your photos. You can use this website to give your photos an astonishing look by adding the lomography effect. Similar to “iPiccy”, this one also comes with one standalone lomo effect which you can customize. To get started, simply go to the website and click on the “Start Photo Editing” button. After that, it will ask you to select the photo to which you would like to add the lomo effect.
When you upload the photo, click on the “Add Effect” button on the top left corner. Then scroll down on the page and select “Lomo Effect”. As soon as you do that, the effect will be applied to the photo. You can customize the effect by changing the saturation, mask intensity, brightness, contrast, etc. When you’re all set, you can save and share the resulting photo with ease.
PhotoFunia:
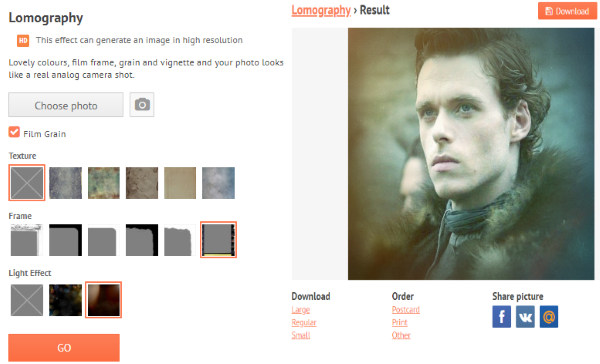
PhotoFunia can also be used to add lomo effect to photos. This website is pretty easy to use and lets you apply the effect in no time. It allows you to combine 3 different parameters (named Texture, Frame, and Light Effect) to create and add the lomo effect to your photos. You can simply open this website and then choose an existing photo from PC. After that, you can go ahead and select the parameters.
Apart from the above mentioned parameters, you can also enable “Film Grain” to your photos. Once you’re done with the settings, simply hit the “GO” button. This will instantly apply the lomo effect to the photo and you can see a preview of that. You can then save the photo or share it directly on social media.
Closing Words:
So, these are some of the best free websites to add lomo effect to your photos. One of the main USPs of these image editor websites is that they come with an intuitive interface making it easier for you to apply the effect. Do you want to stand out with your photos on social media, I suggest you start adding lomo effect to your photos.
Try these websites and let me know which one you like in the comments.