This Windows 8 tutorial is an article about how to play slideshow of images in Windows 8 Start Screen. The images that I am talking about here, are the favorite images that are saved locally in your Windows 8 devices. As the new metro look is what the point of focus of the latest Windows OS. So it will be a lot better if you can customize the metro look so, that it becomes more personal. The Windows 8 and 8.1, itself gives you a lot of options using which you can add more personal touch to your Windows. The Windows 8.1 is well made and already looks good. Plus it gives a hell lot of options to change, manage Start Screen tiles, pin multiple apps, change start screen background and theme, change lock screen images, choose apps to run in background and show notifications in lock screen, change time and date formats and lot more.
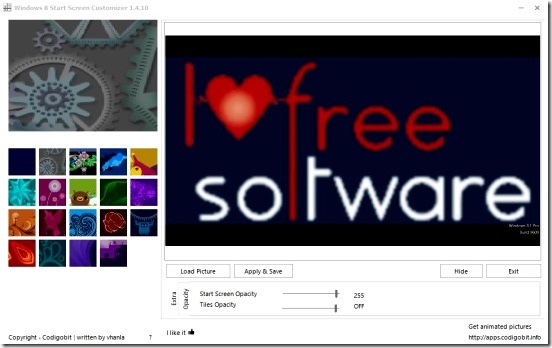
This little Windows 8 tutorial explains about playing a slide show of your favorite images in the Windows 8 and 8.1 Start Screen. There are lots of third-party desktop apps that let you set and play slideshow of images custom chosen by you. I am also going to one of the third-party desktop apps for the very purpose: Windows 8 Start Screen Customizer. You can download it by clicking on the link given at the end of this article. This desktop app, itself is very handy and has a lot of features using which you can customize Windows 8 Start Screen (which are not present by default in Windows 8 OS). It has a set of Start Screen themes, that you can choose from, change opacity of Start Screen and tiles, separately. Plus, it also lets you set a picture (stored locally), or a portion from that image, as the Start Screen background etc.
But lets just focus on the main purpose of this article, and talk about playing a slide show of images in Start Screen custom chosen by you, using this free Windows 8 Start Screen customizer app.
Follow the simple steps of this Windows 8 tutorial:
- Once installed, simply run this Windows 8 desktop app.
- In the UI, click on Select Pictures button.
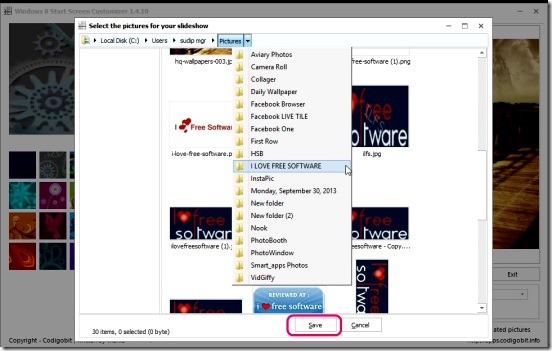
- You’ll get a file explorer; simply select the desired files. The good thing is you can select multiple file together at the same time.
- Once done simply click on Save.
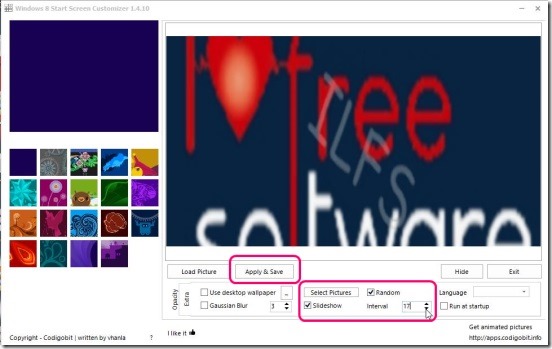
- You can either just simply apply and save, the alterations (slideshow settings) from here or give more customizations to the slideshow.
- To give more customization, you can check on the Random option to play photo slideshow randomly.
- To set the time interval between photos. Check on Slideshow and change the interval using the buttons next to Interval label.
- Finally click on Apply & Save button in the app’s UI.
This is how you can set a photo slideshow in Start Screen. Follow the easy steps as mentioned above, and you’ll have a slide of your chosen pictures playing right there at your Windows 8 Start Screen, behind the apps tiles.
Final note:
That was all about this little Windows 8 tutorial. The app that I used is very simple and handy. Also it doesn’t occupies much space in your Windows 8 devices memory. So, get the app and add a little more to the personalization of your Windows 8 OS.
Get Windows 8 Start Screen Customizer here.
You might also want to check out these Windows 8 tutorials that we have covered:
How to Change Display Language In Windows 8.
How To Add Slide To Shutdown Effect In Windows 8.


