Panda Cloud Cleaner rescue USB drive is a free virus removal tool that is used to remove malware, viruses from an infected PC. It is helpful to scan a computer, which due to malware, doesn’t start correctly. You can create a rescue USB drive (or bootable USB antivirus scanner) that will help to analyse infected PC with the help of Panda Cloud Cleaner and will clean all detected malware to make that PC infection free and work properly. It is an easy to use virus removal tool and you will need two basic things to use this tool: a flash drive to create rescue USB and a PC that can boot up.
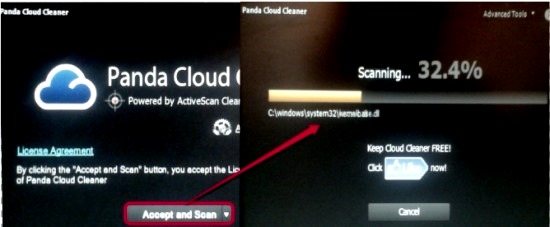
In screenshot below, you can see that Panda Cloud Cleaner rescue USB drive will deeply analyze your PC, and scan to find out total number of malware.
Note: You won’t be able to interact with your PC until the scan is completed or cancelled.
How To Create Panda Cloud Cleaner Rescue USB Drive To Scan Infected PC?
Here are the steps that will help you to create a bootable USB antivirus drive and scan infected PC.
Step 1: First download the installation file of Panda Cloud Cleaner rescue USB drive to your PC and insert a USB on your computer. Its download link can be found at the end of this review.
Step 2: Now double-click the downloaded installation file so that you can create rescue usb drive. Hit the Start button, select USB drive, and start the process for creating rescue USB drive.
Step 3: After completing the process, take rescue USB drive to infected PC. Insert USB to infected PC and restart PC to make PC boot from USB. By default, most of the PCs boot sequence remains enabled for hard drive. If PC is not able to boot from USB, then you need to change the boot sequence by entering set up and using Advanced BIOS Features.
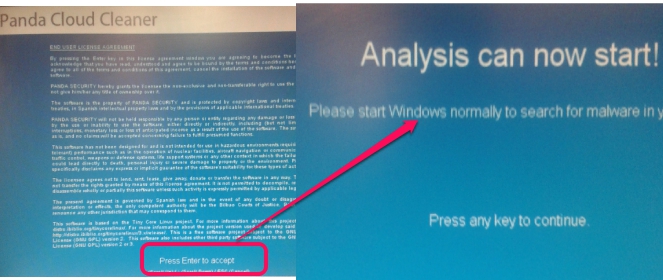
Step 4: After booting from inserted USB, wizard of Panda Cloud Cleaner will be displayed. Here, you need to accept the license agreement by pressing the Enter key. After this, wizard will prepare that PC so that scanning can be started after restarting the computer.
Step 5: In this step, Wizard will display a message to remove the USB. So eject USB and that’s it.
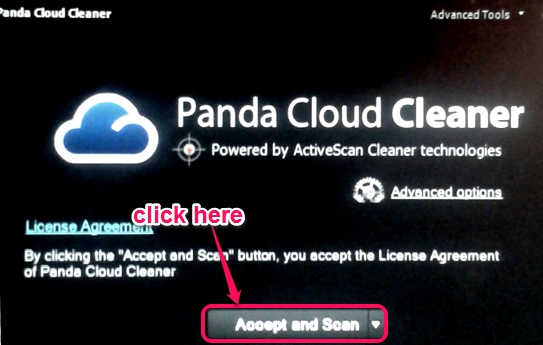
PC will be restarted automatically after ejecting the USB and on Windows start, you will find Panda Cloud Cleaner interface. But, “it is possible that PC might hang before opening Panda Cloud Cleaner interface, as it happened with me 2 to 3 times during testing”. In that case, you have to force restart the PC. Once its interface will open up, hit ‘Accept and Scan‘ button to start the scan.
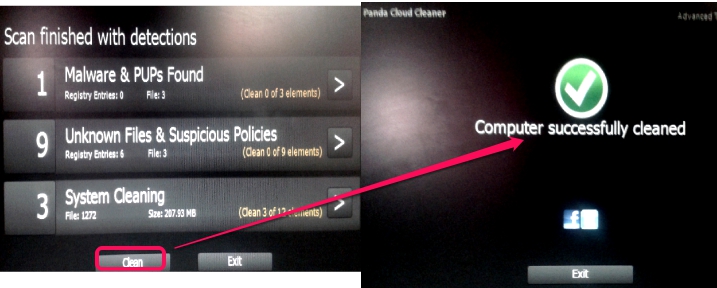
This will start scanning the whole PC to find out malware. Scanning may take some time. Do not interrupt the scanning process. Once the scanning will be completed, results will be in front of you. You can check details for each detection and can hit the Clean button to clean PC.
Conclusion:
Panda Cloud Cleaner rescue USB drive is a good virus removal tool. It comes in handy when a PC get infected with malware and antivirus of that PC failed to remove malware because of corrupted files. However, you might face problem while the computer boots up as Panda Cloud Cleaner rescue USB drive blocks the desktop sometimes.
Get Panda Cloud Cleaner rescue USB drive.
You may check these free bootable malware scanners: BitDefender Rescue CD, Avira Rescue System, and Anvi Rescue Disk.


