Picture Stamper is a free watermarking software to add a text watermark and image stamp together. This is especially useful when your work involves art, photography, or blogging, etc. There is a big need to safeguard images from unauthorized use as well as tagging the name of your organization on the pictures for promotional purposes, which Picture Stamper fills in.
This application gives you the output with JPEG format irrespective of the format of the pictures you are going to stamp. This software also lets you resize and compress pictures in bulk, which is a feature not found easily in other watermarking software. So you can batch watermark, add a logo, resize, and compress images in one go. You can stamp, resize and compress the image files independently also.
Why Use Picture Stamper?
What makes Picture Stamper different from other similar tools is that it consists of an integrated image compressor and an image resizer (with and without aspect ratio conservation). You can resize and compress the images in one go along with watermarking, and that too in bulk. The feature of image resizing and compression is independent to whether you have added any watermarks or logo. Therefore, you can also use Picture Stamper as a batch image compressor and resizer. Picture Stamper also supports a long list of image file extensions such as BMP, PNG, JPEG, GIF, TIFF, PGM, PBM etc. These are the reasons what I believe is why you should use Picture Stamper.
So, let’s see what this Windows application has in store for us!
Batch Watermark, Resize, and Compress Images in One Go:
As mentioned earlier, this software can watermark, compress, and resize a batch of pictures in a single iteration. To start branding your pictures with a logo and a watermark, select the desired pictures by clicking ‘Add Pictures‘ in the ‘Pictures’ section on its interface. If you don’t like a particular selection then you can click ‘Remove‘ or you can remove the whole list of pictures to be stamped by hitting ‘Clear‘.

Step 1: Adding A WaterMark And Logo
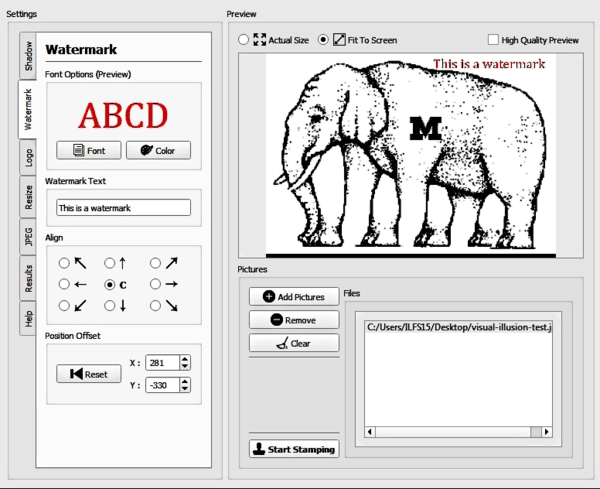
Now, coming to the main feature, select the next tab ‘Watermark‘ in the settings and style your watermark’s font and color accordingly. Also, set the position of the watermark using the alignment options or by simply placing it with your mouse. You can enter the position offset to enter the watermark position manually.
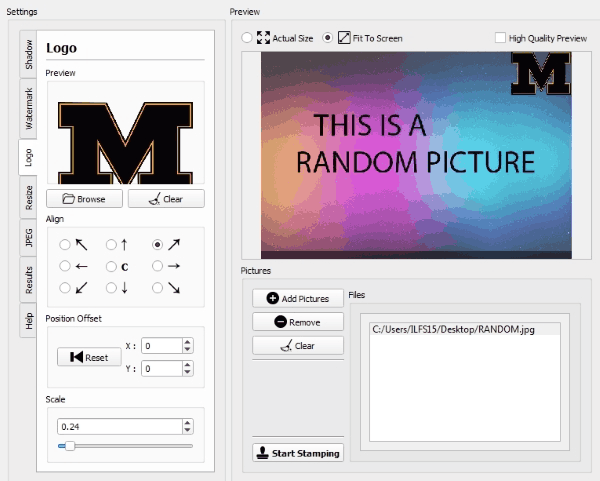
To add a logo, open the ‘Logo‘ tab where you can select the logo from your files by clicking ‘Browse‘ and select the logo image you want. Rest of the options to align the logo are the same as when you customize a watermark as stated above. The only thing different here is the scaling slider, with which you can change the size of the logo you are adding.
Step 2: Resizing The Pictures
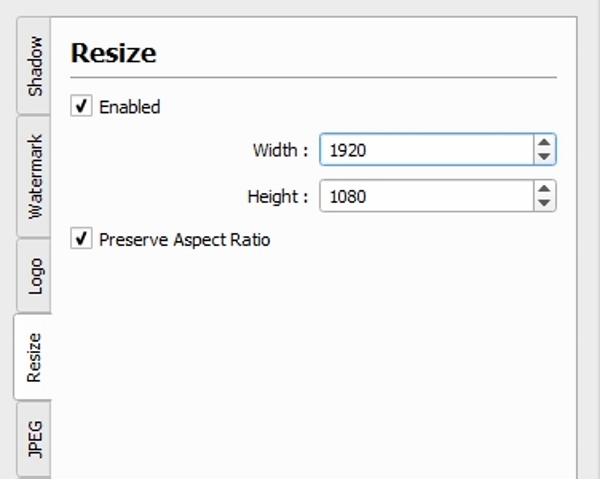
Before you stamp your images with a watermark and/or a logo, you can also resize and compress the image to your liking. To batch resize, open the ‘Resize‘ tab and enter the dimensions you want the pictures to be resized to. You can also keep the aspect ratio intact before resizing, so you can avoid unnecessary scaling distortions. Just type in the new height and width that you want for your image.
Step 3: Batch Compressing the Images
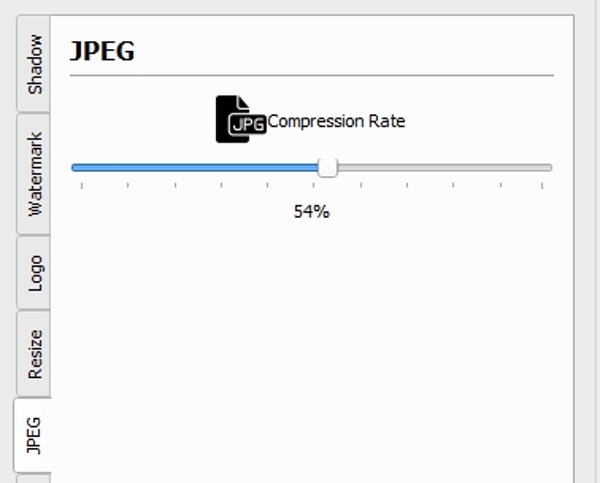
A really good feature here is that you can also batch compress the image files that you are going to stamp. Just open the ‘JPEG‘ tab and adjust the slider according to the amount of compression you want. There is no limit to how much compression you can add, but compressing too much can distort the image. So compress accordingly.
Once you are done, just start the process, and the program will complete all the steps that you have indicated.
Other features of Picture Stamper:
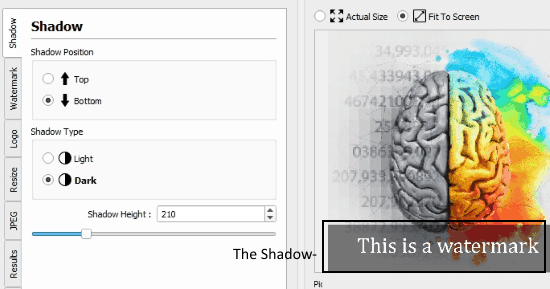
Adding A Shadow
A not so important but worth mentioning feature is that you can add a ‘Shadow‘ in the Settings. The shadow is basically a long bar added to the top or bottom of the picture. It is used to provide a highlight for the watermark or the logo you might add on the picture. You can change the position of the shadow as well as the shadow type (light and dark) by clicking the appropriate radio buttons given on the interface. You can also change the size of the shadow by adjusting the shadow height slider as desired.
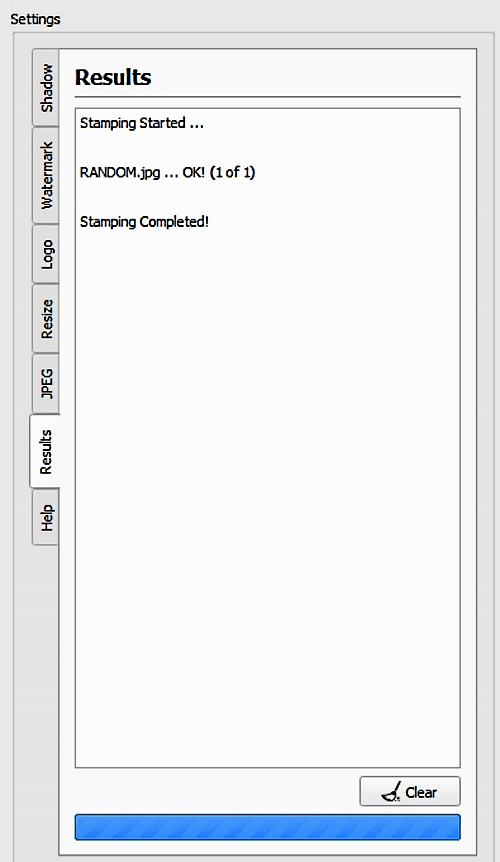
When you have the final image ready, then click ‘Start Stamping‘. You’ll be prompted to select an output folder for all your stamped images. When you select, the process will start and you can see the process result in the result tab.
Final Thoughts
From my experience of using this watermarking software, I can say it works smoothly without any hiccups. The feature that attracted me is also what most watermarking software lack. It is the ability to compress the files and resize the files before stamping in one go and in a batch. If you think about it, it can act as a batch image file compressor as well as a bulk image resizer, and not just a watermarking software, since all features are independent of each other. However, I feel that the developer should have added an option to control the opacity of the watermark and logo. It is because most watermarking software have this feature and I feel it’s a bit necessary to make sure your picture is legible everywhere. Another feature that should have been added was the ability to control the format of the output image file since by default you only get JPEG files after the process.
Would you use Picture Stamper to watermark your own piece of art? If not, then which watermarking software do you prefer? Tell me in the comments!
Get Picture Stamper here.