Cloudschool is a free online learning management system that helps educators create courses and share them online with their students. Using Cloudschool is really easy because of its simple interface. It is focused more on the course structure and the educational content that you can create and share. For a teacher, the whole process of creating a course and sharing it has been reduced to 3 simple steps: create, publish, and share.
You can create awesome multimedia weighted lessons to help students grasp difficult topics with the combination of videos, text and images. You can also upload worksheets and different files for the students. To share the course with the students, all you have to do is send them the link to your course.
Cloudschool also gives you visibility options for lessons you’ve created and their elements. You can easily select whether you want a particular element to be shown in the teaching space or not. If you’d like extra security on the educational content you’re creating (say, in the case of making a test), then you can also lock the course with a password.
Cloudschool is totally free where you can create unlimited number of courses. The only limit is that of the files that you upload.
So without taking much time, let’s take a better look at Cloudschool. You can also check out a free online learning management system that focuses on videos to teach. It’s called EDPuzzle.
How to Create a Course on Cloudschool
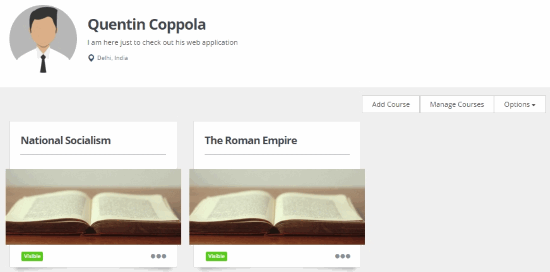
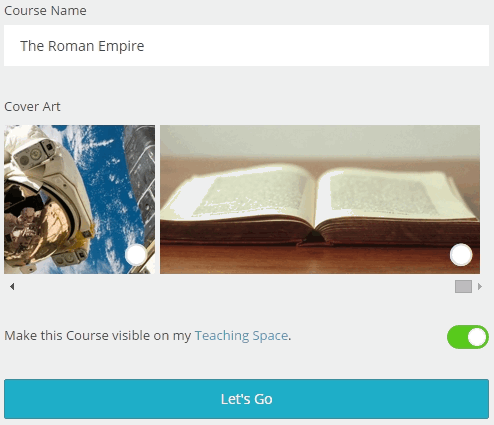
When you open your new account on this free online learning management system, click on the small tab in the middle to create a course. On the following page, name the course and choose a cover art that will represent your course. You’ll be directed to the course home tab where you can create the lessons for the course. The details of the course can be accessed by clicking Show Details.
If you roll down the options, you’ll find that you can save the course as a word document or a PDF file. ‘Add Existing Lesson’ lets you add a lesson from a different course to the current course.
How to Create a Course Lesson on Cloudschool
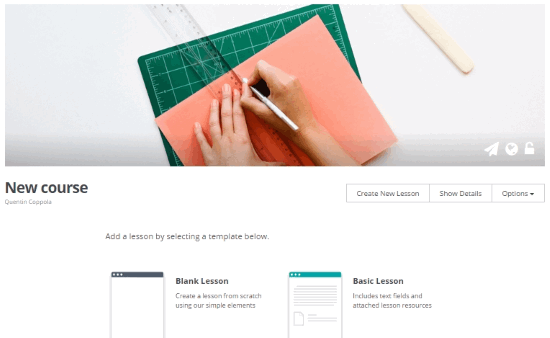
You can start from a blank page or select a template. Select your choice of template from the page or click ‘Create New Lesson’ to enter the lesson name and lesson template. I would recommend you to choose the basic lesson template because it’s easier to create an organized course quickly that way.
The lesson editor will show you the lesson elements, which are basically the content of your lesson. But before that, make sure you name the lesson by clicking on the default lesson name. The elements that are provided by default include lesson objective, lesson outline, lesson resource, homework, teacher’s notes and lesson evaluation.
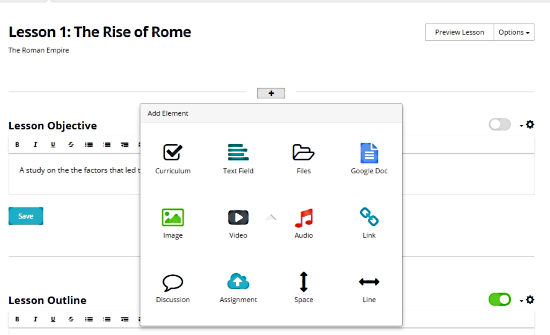
Click on Edit Lessons to add content to the lesson. You can also add custom elements by clicking on the ‘plus’ button between other elements. There are lots of elements you can add, which include YouTube videos, images, audio, Google Docs, files, etc.
On each element, you also get to choose if you want the element to be visible when you publish it. Other settings include Hide heading to hide the element title, Renaming to rename the element title, Delete the element and move it up or down in the lesson. When you are done, you can click on Next Lesson at the bottom if you need to edit another lesson that you have created.
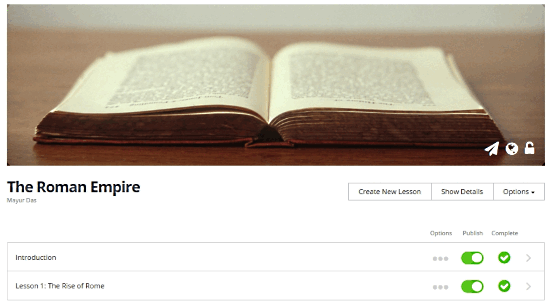
Back at the Course Home, you can see the list of all the lessons you have created. When one of your lessons is complete, you can select the respective checkbox under Complete. The next step is to share the course you have created.
How to Share a Course on Cloudschool
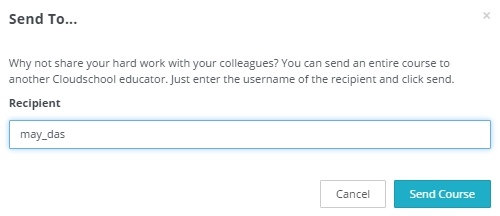
Sharing this course with a colleague on Cloudschool can be done by clicking ‘Send To’ in the Options at your Course Home. The colleague you will share it with, will be able to change the copy you have sent him/her. After you’ve clicked ‘Send To’ you have to enter the name of your colleague.
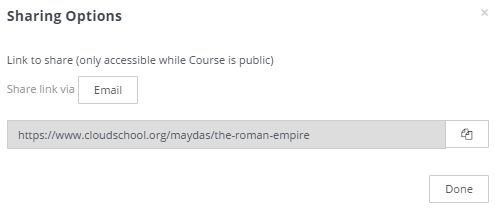
However, if you select ‘Share link’ then you can share the link of your course with your students. When you click Email on the Share Link box, you’ll be able to share the course via email with your students using your default email client.
As mentioned before, you can download the course from the course options. Click on Option on Course home, and select Download as DOC. Following that, you will be again asked about the format you want to save the course in. You can select the format and the course lessons, elements you want to export in the file. Click on Create to save the file.
You also have the option to keep your course as private and password protected. On the course home, click on the Globe on cover art to select if you want to publish the course, if you don’t then your course will remain private. Click on the Lock to enable password protection.
Other Features of Cloudschool
On the top-left, click on the slider button to reveal a panel where you can easily access courses and the file manager where all the files you have uploaded in various forces are shown. On the File Manager, click on Add File to upload a new file. You’ll get a total storage of 1.1 GB.
Final Words
I find Cloudschool to be really simple and easy to use. Cloudschool gives you full control on the type of education you want to propagate to students without any limitations. The only thing that I was concerned about is it not being serialized in the order of creating, publishing and sharing the educational content. I honestly got a bit confused figuring out how to publish it for the students to see. I award this free online learning management system with 4 stars.
Try Cloudschool here.
Know a better alternative? Make sure to share it in the comments!