Here is a tutorial in which I will explain how to sync iTunes playlist to Android phone. With the help of this tutorial, you will be able to transfer your favorite iTunes Playlists to Android in a few minutes only. The best thing is the process of transfer is as easy as transferring songs PC to your Android phone. You will never feel like you are doing it from iTunes.
Before you can get start with this tutorial, you need to install iSyncr PC Client on your PC and iSyncr for Android on your Android device. This tutorial has two parts: Syncing using USB and Syncing via WiFi. You can choose to follow any or both the methods as per your choice. Both are equally easy to follow.
Note: iSyncr for Android lets you sync 1 playlist at a time with a restriction of 100 songs per playlist. You have to upgrade to paid version for removing this restriction.
How to Sync iTunes Playlist to Android Phone using USB:
Step 1: Connect your device to PC via USB cable.
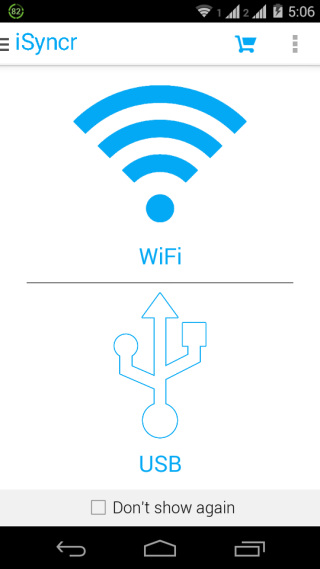
Step 2: Launch the iSyncr app on your Android phone and select USB option for syncing.

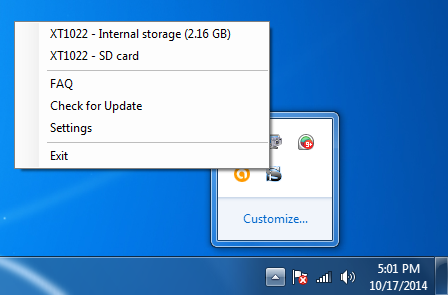
Step 3: Right click on the iSyncr app’s icon from the system tray to check the name of your Android device. Choose the storage location (Internal Memory or External Memory) for syncing the iTunes Playlist.
Step 4: You will see the dialog box as shown in the screenshot below. All the songs from iTunes are displayed in different categories: Playlists, Artists, Albums, Genres, Podcasts. Choose the songs you wanna sync and then click on Sync option.

That’s it. Just sit back for few seconds and all your selected songs, playlists will be synced to your Android phone. You can check the songs by going to the location selected by you before the syncing. All the songs are stored under folder named “Syncer”.
How to Sync iTunes Playlist to Android Phone via WiFi:
Before you proceed with this method, do make sure that both your PC and Android phone are on same WiFi network.
Step 1: Run iSyncr PC client on your PC. As it will start running, you will find it in the system tray.
Step 2: Launch the iSyncr app on your Android device and choose WiFi as syncing option.
Step 3: The app will automatically search for the PC having iSyncr PC client and display the name. If it can’t, then tap on Manual option to enter the IP address of your PC and connect.
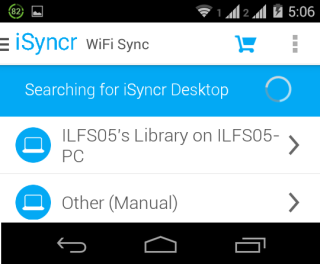
Step 4: Tap on the PC name with which you want to sync iTunes Playlist. It will display the iTunes Playlists on your device’s screen.

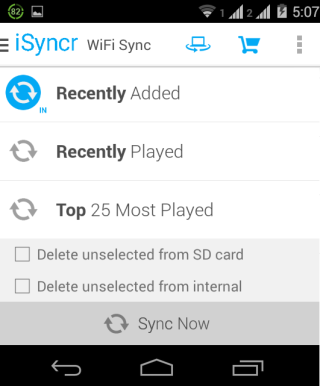
Step 5: Tap on the playlist you want to sync to get syncing related options. Choose the preferred option for syncing. If you want to view the songs in a playlist before syncing, tap on View option.
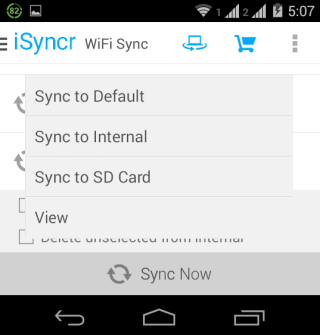
Step 6: After this, you will see that Blue icon in front of the playlist selected by you to signify that sync is in progress.
Now, you have synced all your favorite playlists to Android phone via WiFi. You can see that both the methods were so easy to follow and apply.
Here, I end this tutorial for how to sync iTunes playlist to Android phone via USB and WiFi. If you face any problems in following the steps, then do ask me in comments section below.