Here is a short tutorial that explains how to change User Account type in Windows 8.
Windows 8 lets you add different type of accounts in your Windows 8 PC: Standard User, Administrator, Child, Guest, etc. It even lets you create account with the permission of accessing assigned tools, settings, programs, etc. After creating the User Account, you can easily change the account type as per your preference.
- Administrator: In this User Account, user has complete and unrestricted access to the PC. The user can make changes without any restriction.
- Standard User: These users can use most of the software and can even change System settings (they must have authorization), but the changes shouldn’t effect other users.
- Guests: Guest account users have all the privileges like the Standard user, except from the fact that they can’t install any software, hardware, and even can’t change settings.
- Child Account: The administrator can choose various permissions and even the PC access time of the Child account.
In this tutorial, learn different ways to change user account type in Windows 8. You need to login as administrator to make the changes.
Be Careful: Don’t change your only or all Administrator accounts to Standard user or any account type, else you will not be able to revert the changes.
Method 1: Change User Account Type using PC Settings
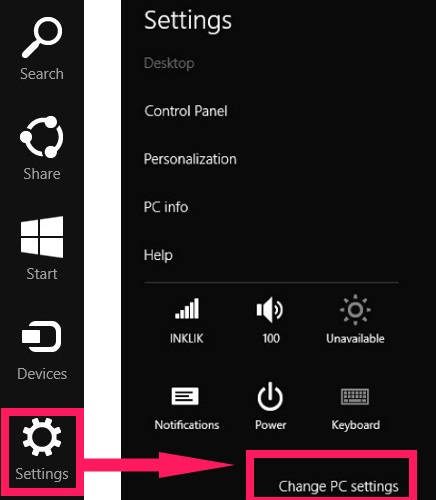
Step 1: Open Windows 8 Charm Bar by using Windows key + C, or by hovering mouse to the top right corner. Click on “Settings” available at the charm bar, and then click on “Change PC settings”. It will open PC settings.
Step 2: In PC settings, click on Accounts option. In Accounts, click on “Other accounts option”
Step 3: Click on the account for which you want to change the account type. It will give you two options: Edit and Remove.

Step 4: Click on Edit option and then click on Account type. From the drop down list, select the account type for that particular user.
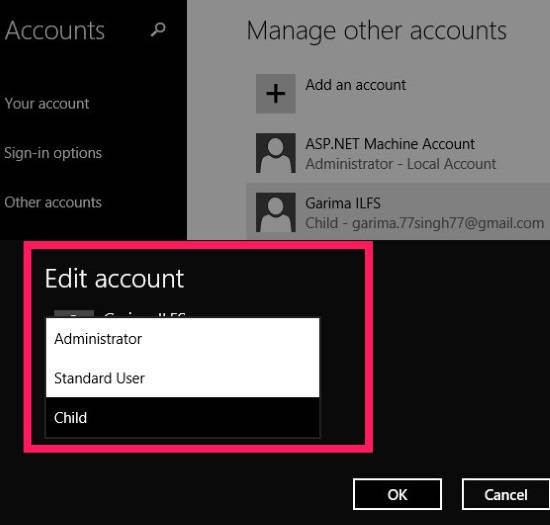
It will easily change the account type of that user. However, it gives only three options to change: Administrator, Standard User, and Child.
Method 2: Change User Account Type Using Control Panel
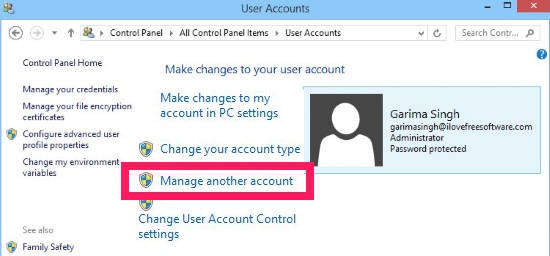
Step 1: Open Control Panel (icon view). For that, press Windows Key + X, and then click on Control Panel. Click on User Accounts available in Control Panel.
Step 2: Then click on the link that says “Manage another account”. It will give you a list of accounts available in your Windows 8 PC.
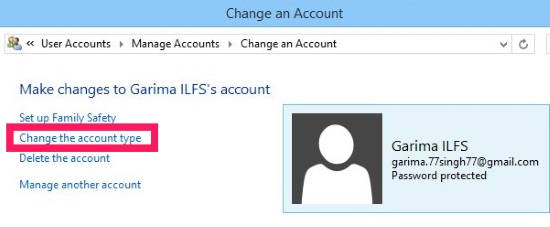
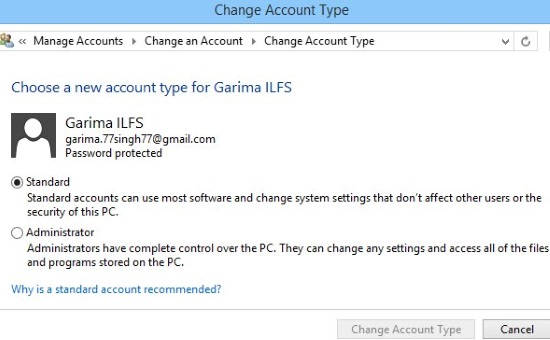
Step 3: Click on the account which you want to change. Then click on the link that says “Change the account type”.
Step 4: In the next window, select the relevant radio button, and then click on “Change account type” to save the changes.
Method 3: Change User Account Type Using netplwiz
Step 1: Open Run, and type netplwiz in the run box. It will open User Accounts.
Step 2: In User Accounts, you will find various user names available in you Windows 8 PC. Click on the user name whose account type you want to change.
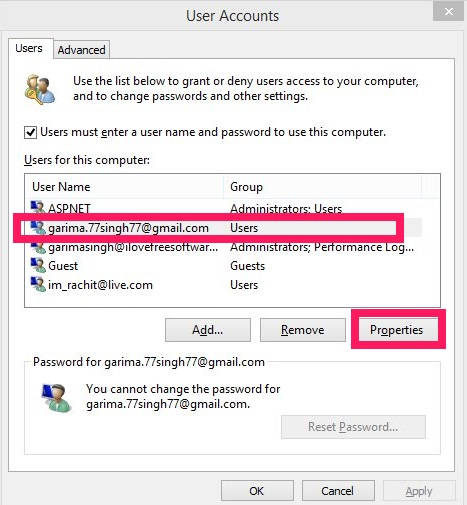
Step 3: Click on “Properties” button. In properties, click on “Group Membership” tab. You will find three options: Standard, Administrator, and Other.
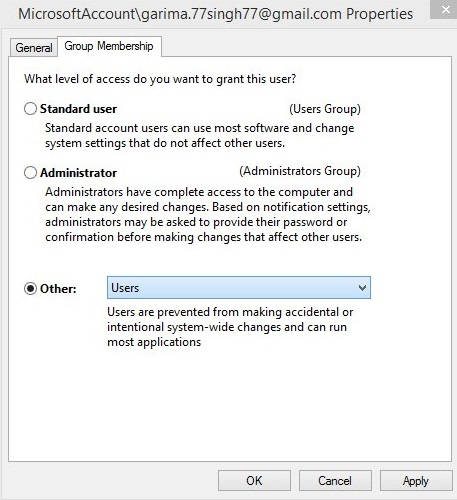
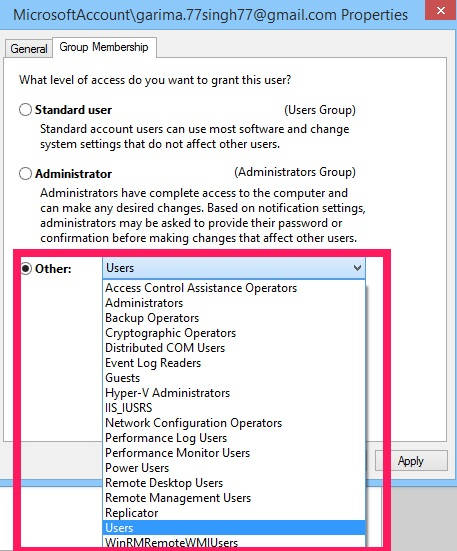
Step 4: Click on Other to change the account type other than Standard and Administrator. It will give you a list of various account types. Select one as per your choice. Apply the changes and then click on “OK”.
All the above mentioned methods are quite easy to go. Choose one as per your ease and change the account type.