uShare is a free online application for team collaboration with video conferencing and screen sharing support. There are dozens of online team collaboration services like Missive, Slenke, Volerro, and SeaFile, but most of them have the option for video conferencing which makes uShare stand out from other services. Using this application, you’ll be able to brainstorm ideas with your team, start video conferencing, audio conferencing, and also share screen to make the discussion more interesting.
If you want to simply discuss anything with your team, then you can use the chat function and send text messages to others. You can also share various files (like documents, images, etc) from different cloud services like Dropbox, Box, Google Drive, OneDrive, Trello, etc. In addition to that, it allows you to create and send various new items like a task, contact, link, calendar, note, and document. Let’s say you want to discuss something with your team at any specific time, then you can go ahead and schedule a meeting by adding team members.
Note: The free version of uShare is limited to 5 team spaces and 90 shared audio/video meeting minutes. You can overcome these limitations by purchasing the paid version of uShare.
How to Create a Team and Invite Team Members:
Step 1: Before you get started, you need to register for your free account on uShare homepage. After that, it will open up the dashboard where you will be able to see all the options to start video conferencing, audio conferencing, screen sharing, etc. at the top.
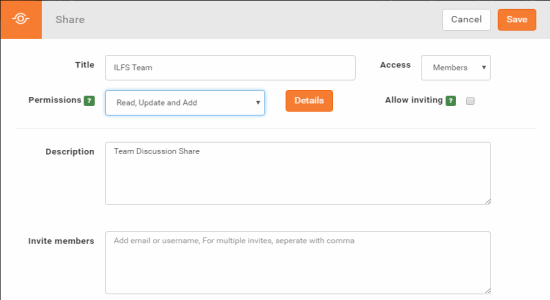
Step 2: To create a new team or Share (as they call it in the application), simply click the “New Share” button on the left panel. Then enter the team title, choose access (either as members or public), set up permissions (either as read only, read & update, read/update/add, or custom), enable allow inviting option (other users can invite and add members to the team), enter a description, and type email addresses of users whom you want to add to the team.
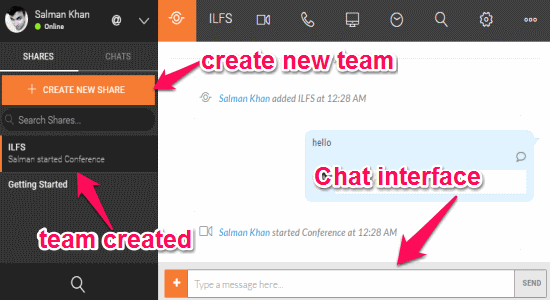
Step 3: When you’re done entering all the team details, click the “Save” button to create the new team and proceed. All the created teams or Shares will be visible on the left panel. When you select a team, the chat interface will appear where you can start a conversation with your team.
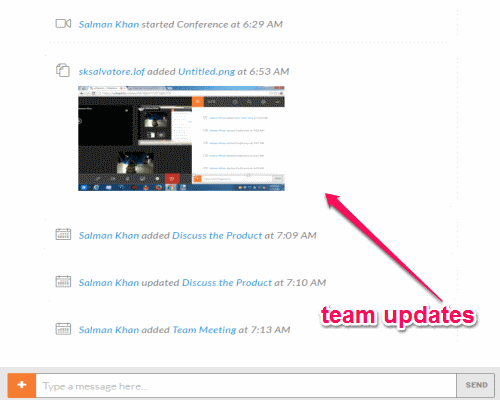
Step 4: It also shows updates for all the team related activities you do such as when you and your team members create a new task, schedule meeting, share an image, send text messages, etc. Ultimately, it is a common platform where you and your teammates can discuss something, share files, see updates, chat, etc.
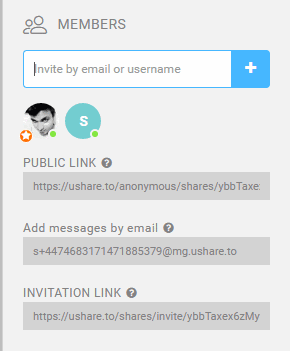
Step 5: You can invite team members while creating a team or you can also invite them later to the team. To invite team members later, you can simply click the “Dots” icon at the top and enter the email id or the username of existing uShare users in the “Members” input field. You can also invite others using the public link, email communication link, and invitation link as shown below.
How to Send Text Messages and Items like Task, Document, etc:
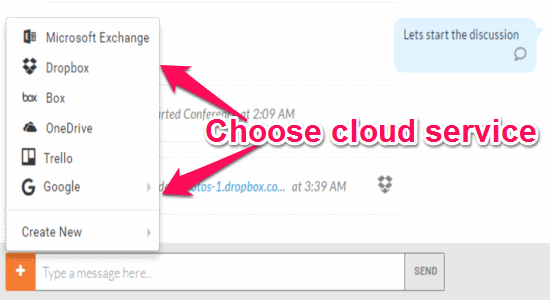
Step 1: You can simply use the chat interface of a team to exchange text messages with all the team members of that particular team. The process of sending text messages is quite similar as you normally do with other messengers. But, the best part of uShare chat function it that you can share various files like images, documents, and more from your cloud accounts. The supported cloud accounts are Dropbox, Box, Google Drive, Google Calendar, Microsoft Exchange, Trello, and OneDrive.
Step 2: To share files with team members, click the “+” button adjacent to the chat input field and select the desired cloud service. After that, you can insert files and share them directly while having a conversation with your team.
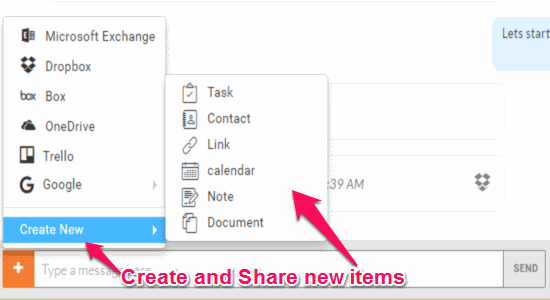
Step 3: Another useful feature of uShare is that you can create and share new items like team tasks, contacts, links, calendar, notes, and documents to team members while having a conversation in a team chat. To send tasks and other items, simply click the “+” button and you’ll see a “Custom” option below the listed cloud services. Now, select the option and a submenu will appear where you can select any item you want to send.
How to Start Video Conferencing with Team:
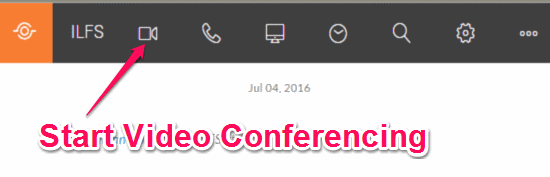
Step 1: The best and unique feature of uShare is the video conferencing which other team collaboration services lack. After starting video conferencing session, all your team members can join the session and collaborate on ideas visually. To start a video conferencing session, click the “Video Record” icon at the top of the screen.
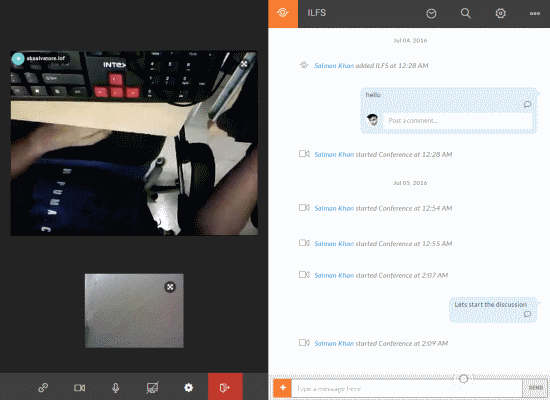
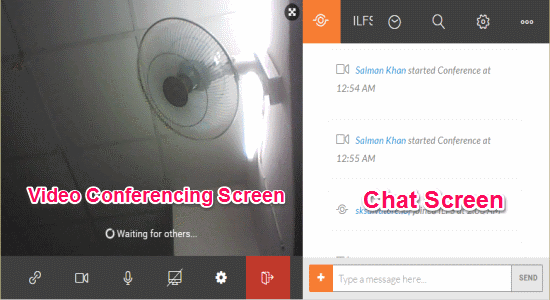
Step 2: As soon as you do that, the screen will split into two parts. On the left, you will see the video conferencing screen and the chat interface will be on the right. At the bottom of the video conferencing screen, there will be various buttons to share conference link, stop video, mute audio, start screen sharing, choose video quality, and exit the conference.
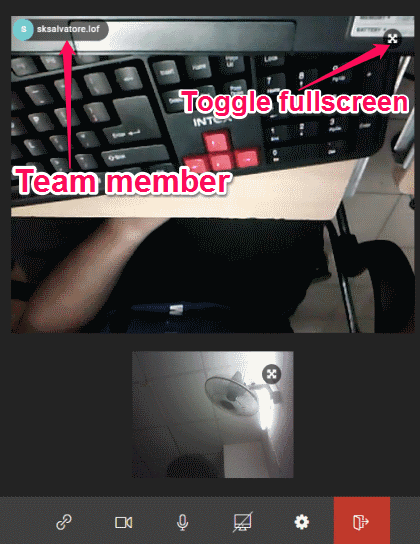
Step 3: Now, you can either share the conference link to others such that they can join the session or all your team members can simply start video conferencing using the notification (as “Your Name” has started a conference) in their chat interface. Once they join the session, all the user cams will be visible on the video conferencing screen. On each user screen, you will see an “Expand” icon using which you can toggle full screen mode for any particular user and hide all the other cams including yours.
How to Start Audio Conferencing with Team:
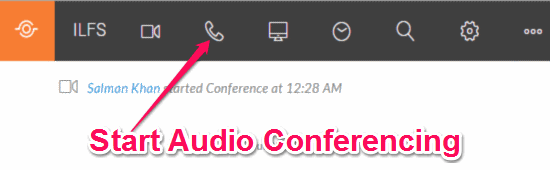
Step 1: Apart from having video conferencing sessions, it also lets you have audio conferencing with your team members. To start an audio conferencing session, simply click the “Call” icon adjacent to the “Video Record” icon at the top.
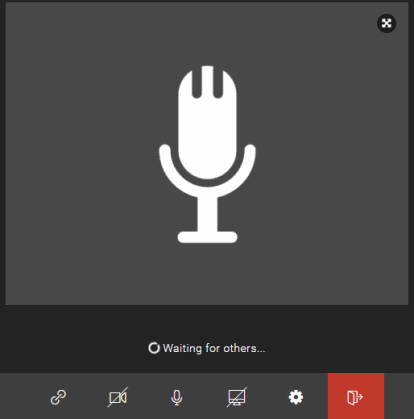
Step 2: Similar to video conferencing, the screen will split up and you’ll be able to see the audio conferencing screen on the left. Instead of the video, you and all your teammates will only be able to listen to the audio. By the way, you can also start audio conferencing when you are in a video conferencing session by clicking the “Stop Video” button.
How to Share your Screen with Team Members:
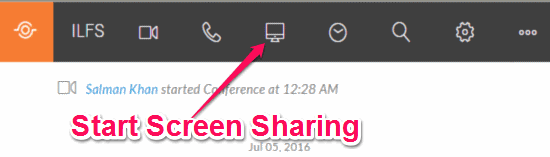
Step 1: Similar to another online application “MeetSpace“, uShare also comes with the screen sharing feature along with video conferencing. You can either start screen sharing directly from the video or audio conferencing screen or you can click the “PC” icon at the top of the screen.
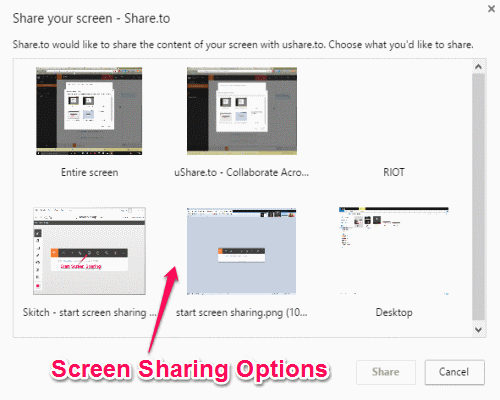
Step 2: Before you can start sharing your screen, you need to install a free Chrome extension called “Share.to“. uShare uses this extension to help you share your screen with your teammates. Once the extension is installed and you click the “PC” icon, it will ask you to choose what you want to share. You can either select the entire screen, any specific open window, desktop, or the browser activities. After selecting any screen, simply hit the “Share” button to start sharing your screen.
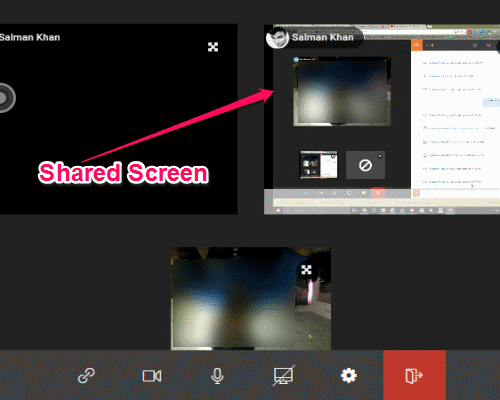
Step 3: Now, all your team members can view your screen while in a video conferencing session or by starting a new session with you by clicking the “Video Record” icon. After that, whatever you’ll do on your PC screen will be visible to your team members on the video conferencing screen. The team members don’t need the Chrome extension in order to view your screen, however, if they wish to share their own screen then they need to install it on their PC.
How to Schedule a Meeting with Team Members:
Step 1: If you want to have a brainstorming session or discussion with tour team at any specific time which is favorable to everyone, then you can use the “Schedule Meeting” feature of uShare to create and schedule meetings with your team. To schedule a meeting, simply click the “Clock” icon adjacent to the “PC” icon at the top of the uShare screen.
Step 2: After that, a new popup window will appear where you need to enter the meeting subject, add users to be included in the meeting, set start & end date, and define the starting and ending time of the meeting. Once you’re done entering all these information, click the “Save” button to schedule the meeting.

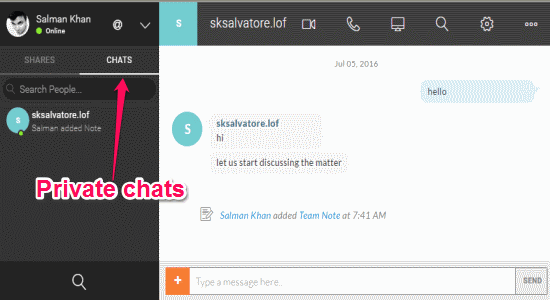
Step 3: Another useful feature of uShare is that if you wish to have a private conversation with any of your teammates, then all you got to do is click on the username in the chat interface. As soon as you do that, a new chat window will appear where you can have your private conversation with the selected team member. All your private conversations will be visible in the “Chats” tab on the left panel.
My Final Verdict:
uShare is an outstanding team collaboration platform with a unique feature of “Video Conferencing”. That means apart from text conversations, you can also start a team video conferencing to discuss ideas in an interesting way. Additionally, it lets you start audio conferencing, schedule meeting, share files from cloud services, and much more. If you’re looking for a better and powerful team collaboration platform, then you should start using uShare right now.