This tutorial explains how to use DigitalOcean server as a proxy server. To do this, here I will talk about a simple script that you can use on your droplet and turn it into a web proxy server. With the help of this proxy, you will be able to bypass websites that are blocked in your region. The script creates a fast proxy server for you that you can access anytime using your browser. Also, the proxy server that this script creates can be used to fake your location. However, here your connection is not encrypted to it so can’t guarantee complete anonymity like a VPN.
There are a lot of other public proxy servers available, but if you don’t trust their owners, then you can set your own proxy server. And for that you just need a DigitalOcean account. Also, the script that I will mention in the below post installs in a few seconds. You can get your own proxy server running in a few clicks and at a very cheap price.
Similar to a proxy server, previously I talked about how to turn your DigitalOcean server into VPN. But that is more complicated than a simple proxy server. And if you don’t know what are proxies, then don’t worry. A proxy server is just an intermediary computer that acts between you and destination. Whatever HTTP requests that you send from your PC will reach destination through that intermediary server rather than directly between you and destination. And so the destination will think that the request is issued by intermediary server (proxy), thus you are saved.
Here I am using DigitalOcean as a VPS to host a proxy server because of two reasons. The first is that DigitalOcean offers cheap hosting and rather than monthly plan, it charges you by hours. And the price is as cheap as $0.007 per hour. The second reason is that it has latest stable images of Ubuntu, CentOS, Fedora, etc. And not just that, it comes with support of docker that lets you install apps by running a single command.

How to Use DigitalOcean Server as a Proxy Server?
The script that I will be using is known as miniProxy and it is a single PHP file that you have to use. But, before using this script, you will need a LAMP server and an FTP client. After that, just follow these steps to install this script.
Step 1: After you have created a server, you can downlaod the PHP script from the homepage of miniProxy. After that, extract the ZIP archive that you’ve got and then get ready for the “miniProxy.php” file.
Step 2: Log in to your FTP account in the server using any FTP client. I will use WinSCP to do it. After that, upload the “miniProxy.php” file at “/var/www/html” folder.

Step 3: That is it. You can now access the web proxy. For that, just type the following address in your browser.
http://YourDropletIP/miniProxy.php
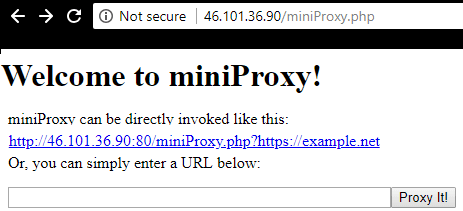
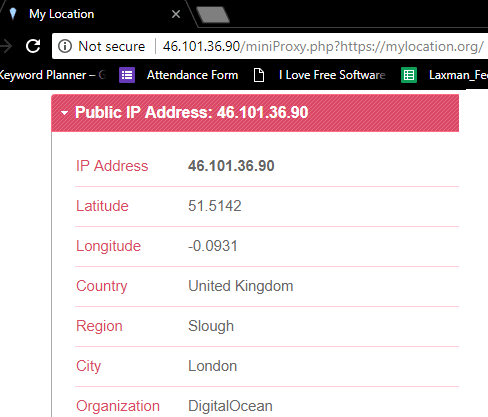
Step 4: You can type any URL you want to surf. You can put that in the box and hit the “ProxyIt” button to open it. And you can check your IP as well as what it will be changed to. See the following screenshot, I opened MyLocation.org websites to check the IP and location.
In this way, you can install this free proxy server on a VPS and start using websites that were censored in your region. There is a very easy process to deploy it on a VPS like DigitalOcean and use it.
Final thoughts
miniProxy is a simple and easily configurable web proxy that you can use. If you want a dedicated proxy server for yourself then you can use the above steps to see how to configure it and use it. Since it will be hosted on cloud VPS, then it will have a very fast speed at very small cost.