In this tutorial, I will explain how to set up and add drive for File History in Windows 8.
File History is a feature of Windows 8 which automatically saves a copy of files in a drive. You can then easily restore those files. The File History even let’s you restore the various versions of files to the destination folder, or you can even save the file somewhere else.
File History is a useful feature of Windows 8. You can choose any drive for copying the file history, or you can even add any external drive to copy file history. Read on to know how.
You need to login as an administrator to make these changes.
Set Up Drive And Turn ON File History In Windows 8:
Method 1: Set Up a Drive & Turn ON File History In Windows 8 Using PC Settings
Open Settings Charm Bar, by using Windows Key + I. Then, click on “Change PC settings”. In PC settings, click on Update and Recovery.
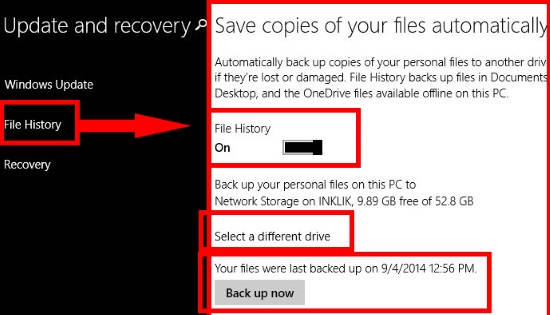
Update and Recovery will give you three options. Click on File History. On the right panel of File History, you will find a switch. Toggle the switch on to save the file history.
To change the default drive, click on Select a different drive option. It will show you a list of added drives in your PC. Select any drive.
File History will automatically start copying files to that particular drive.
Method 2: Set Up a Drive & Turn ON File History In Windows 8 Using Control Panel
Open Control Panel. To open, use WinX menu by pressing Windows Key + X from the keyboard.
In Control Panel (icon view), click on File History. It will display the drive, where the File History is currently being saved. You will see Turn ON button at the bottom. Click on it to start coping files. If you want to Stop coping the files, then click on Stop button. Once clicked on Stop, you can again click on Run now, to start copying the files again.

Click on “Select Drive” option to choose a different drive. Select any drive from the list to copy file history files to.
Add a Drive For File History In Windows 8:
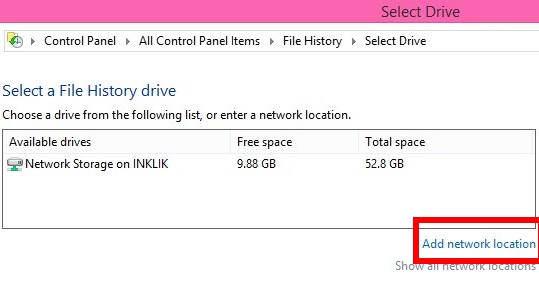
In the above method, once you click in Select Drive, you will get a list of Drives available for File History.
Click on “Add network location” link in Select Drive only. It will display a list of available options. Click on the Network that you are using. Then click on Users.
Once you clicked on Users, you will see a list of users of your PC.
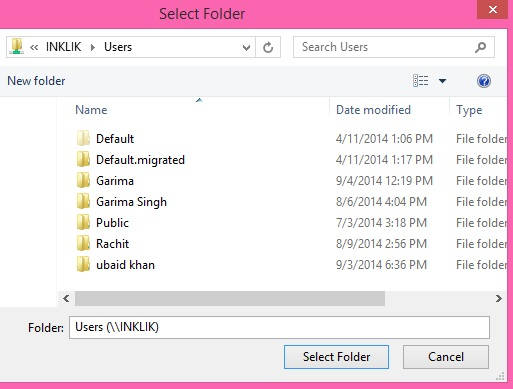
Click on the User to select a Drive to copy the files in that particular Drive only.
That’s it.
Now, you can access File History data from that specific drive only.
Also learn, how to Backup Files in Windows 8 Using File History.